My MIL has the practice of making Kai murukku for Gokulashtami festival. People in Tamil nadu make this murukku generally for festivals and occasions like Seemandham & marriage as seer murukku. My MIL usually says my husband’s grandmom ( ie My mil’s MIL) is an expert in making perfect swirls. My MIL also makes it very fastly & iam still learning from her. Of course swirls come only by practice.
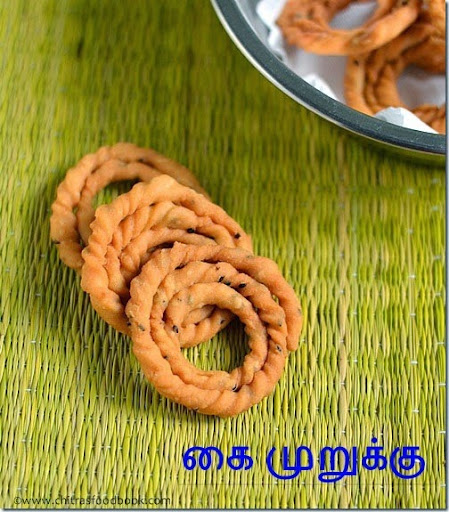
Last year I tried kai murukku using idli rice following my friend Shalini’s recipe. It came out very well & I found it easy for twisting too. I will try to post that recipe very soon. But for festivals, we are supposed to use only raw rice/Pacharisi. So this time I wanted to try this raw rice kai murukku for krishna jayanthi. I got this recipe from my MIL and tried it for the first time. I also referred “Ammavin samayal” kai murukku video for making twists. My twists/swirls din’t come out perfect but the taste was great. Sendhil liked it very much. As every beginner’s hope, I too believe I can make perfect suthu murukku at least by next year.
There are some points to be noted to make a perfect kai murukku. First & foremost thing is “You should use only homemade processed rice flour and roasted urad dal flour”. Store bought rice flour never works.The flour should be very smooth in texture. Also, you should start making this murukku as soon as u grind the rice flour.ie, processed rice flour should be wet. If you allow the homemade flour to dry for long time,u won’t be able to make swirls properly. It will get cut. We should not add too much of butter because murkku will drink oil.
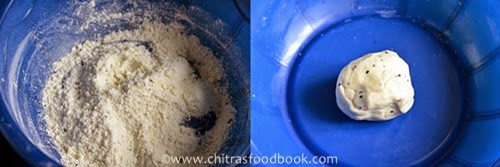
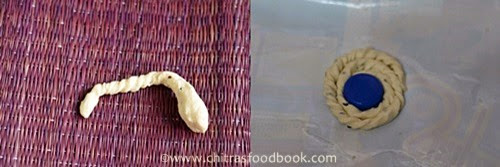
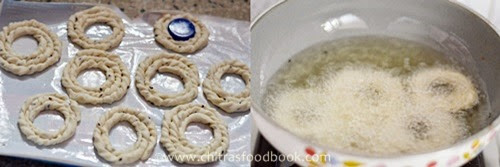
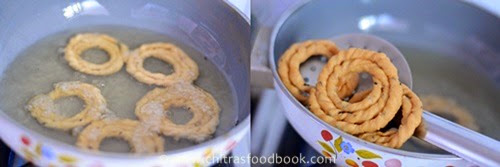
The ratio of Rice flour & urad dal flour should be 8:1. I have shared some of the remaining tips & tricks in “Notes” section. Do have a look before you start making. Ok, Lets see how to make Kai murukku at home with step by step pictures.
Note
Kai murukku recipe
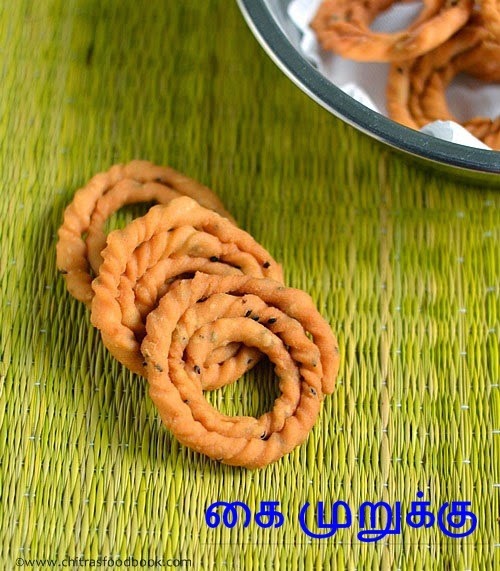 How to make kai murukku for Gokulashtami/Krishna jayanthi
Cuisine: Indian
Category: Snacks
Serves: 10
Prep time: 2 Hours
Cook time: 10 Minutes
Total time: 2H10 Minutes
INGREDIENTS
|
METHOD
|
Note
|
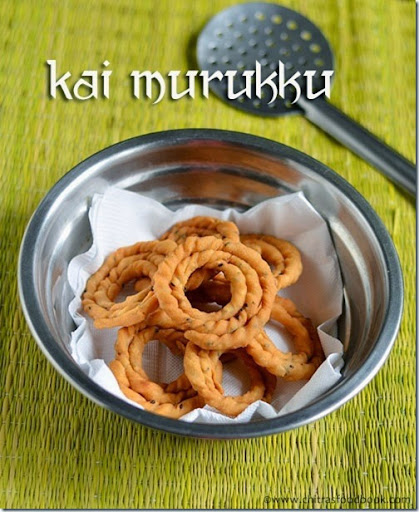
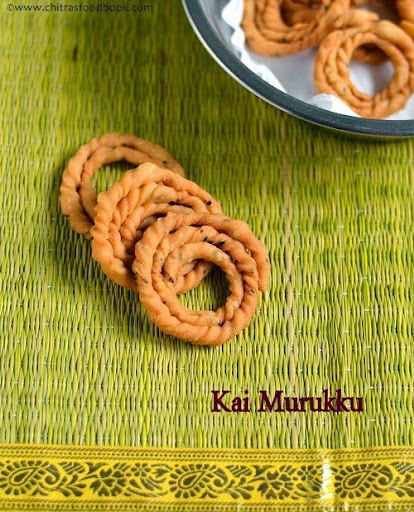
Is my kai murukku looks somewhat OK ??
I will try to make it perfect in future by practice and update the pictures for sure.
Technorati Tags: Kai murukku recipe,How to make kai murukku,Gokulashtami recipes Tamil,Murukku recipes,Krishna jayanthi special recipes,Janmashtami recipes,Suthu murukku,Kai murukku tamil

It's awesome chitra do not say it's not great it's pretty lovely green bottom combination tooo
Thank u so much Aparna 🙂
Hi chitra superb murukkus.surely i ll try this for krishna jeyanthi.and give u the feedback
Thanks Harini,Please try and let me know 🙂
I hv made rice flour and kept your murk ku inspires me to make few!
wat a co incidence.. ito posted chakli :).. i love kai murukku
wow super crispy murukku… my mom's favorite…
Wow tempting Chitra will sure try n let u know.
Thank u Swathi 🙂 Do try n let me know 🙂
so perfect.. doesn't look like beginners job.. Super!
Thank u friends for your encouraging & sweet words 🙂
wow perfectly made sis
perfectly made murukku!!!
yummy snack
Hi dear i did kai murukku this evening.came out well indeed.thanks a lot.the credit goes to u.i ll try to send the photos to u.atlast my dream of making kai murukku came true.happy happy.
Thanks a lot Harini. I am so glad to see your feedback.Do send me the pictures if possible. Happy krishna jayanthi 🙂
They came out simply awesome Chitra..
Thanks dear 🙂
superb and neat.. 🙂
Thanks Tanya 🙂
Thank you so much, followed this recipe and it came out nicely
Happy to know this. Thanks a lot for your feedback 😊