Recently I started my experiments in baking and I have tried some cakes ( Yet to be posted) n cookies ..I am a big fan of rusk. I love its mild sweetness, flavour and crispness.
When I was having my tea with a rusk, my husband told me about the cake rusk he had in a bakery.He told it was very nice and he loved its taste. From then my search started and it ended up here and here. I got attracted by the pictures and tried it. I referred both the recipes and made some changes as per our taste.
I was searching for an eggless recipe but i dint get it. So I used eggs in my kitchen for the first time to try out this yummy stuff. YES, it was a big success. Being a beginner in baking , I felt proud and happy after seeing the result.. Thanks a lot !!
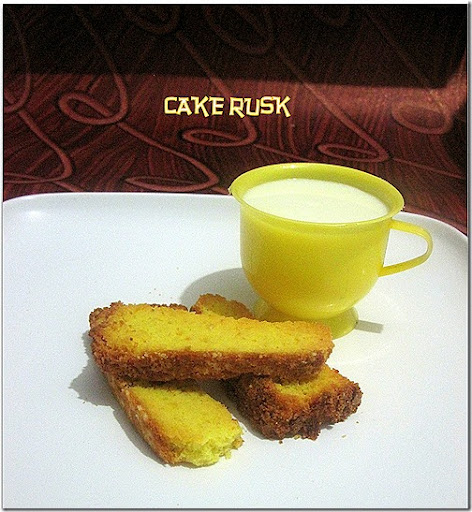
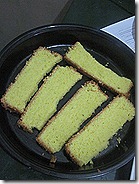
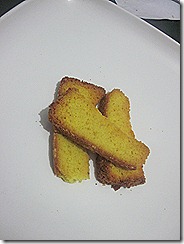
Beginners like me can dare to give this a try. !! This recipe yields nearly 15-20 pieces of cake rusk. But i used half of the cake to make the rusk . So i got only 10 pieces. By the time i clicked , i had only 3 pieces left over in my hand . So the shapes may not look good but believe me it tasted great.
A small intro to cake rusk for those who are not aware of: Cake rusk is an asian dessert and is a kind of double baked cake which goes well with chai/ tea.It is light brown in color & crispy in texture and taste.These crispy browned cake rusks are quite popular in Pakistan.
INGREDIENTS
1cup – 200ml
1cup – 200ml
|
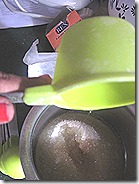
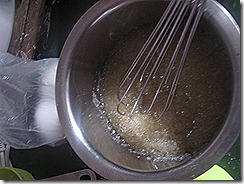
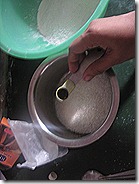
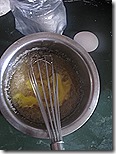
METHOD
NOTES
-
If u want to make a eggless version try replacing the eggs by egg substitute powder or follow the eggless sponge cake recipe . Hope it will work. As i tried for the first time i dint want to take risk. So i halved the original recipe and followed as such. Soon i’ll make an eggless version and update it.
-
While baking the cake , keep checking after 20 – 25 mins whether the cake is done.
-
While baking the rusk, keep an eye as it tends to brown faster and it gets burnt. Make sure the center portion should be slightly browned not much like the sides..
-
First keep the rusk for 10 mins and then change the other side. Set another 10 mins.
-
After 10 mins , remove the plate and touch the center portion, If it is too soft , switch off the oven and allow the plate inside the hot oven.
-
It gets roasted by the heat inside the oven . I did the same. If u feel it has to be roasted , again bake it for 5 more minutes.
-
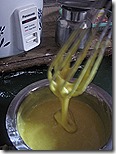
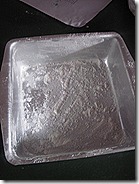
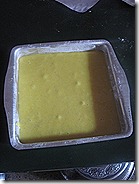
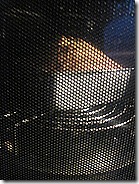
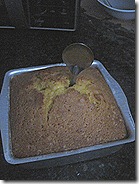
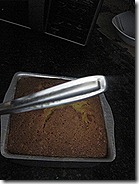
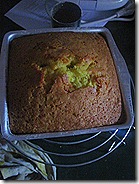
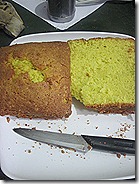
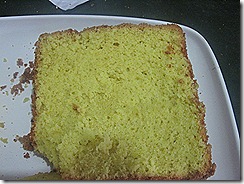
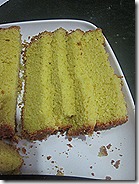
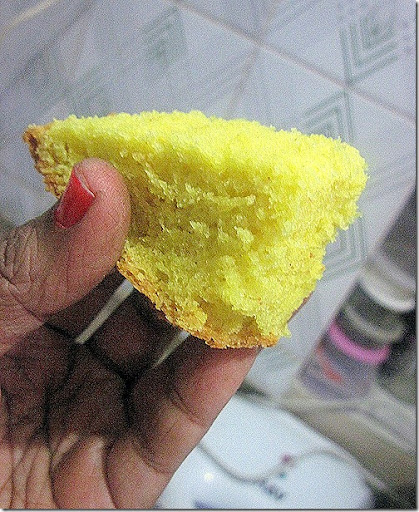
I used half portion of cake as such for my doter and we enjoyed eating it. It was very soft and spongy. Here is a picture of cake. So if u wanna make a sponge cake , u can surely try this recipe
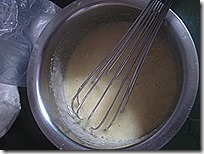
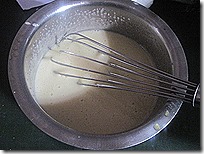
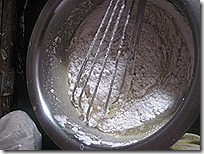
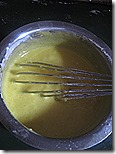

Looks tempting, I too love it a lot, nice recipe 🙂
This looks great…You really worked hard to get stepwise presentation.
Yummy…. could make it more healthy by adding suji instead of maida. By looks it reminded me of Rod – a recipe from the konkan sides of maharashtra… Chk it out here http://mysonpari.blogspot.in/2010/11/rod.html
I was on a look out for these…boomarked!!..great presentation.
I like them too..looks yumm
Looks yummy and very clearly explained 🙂
~Today's Recipe~Yummy Vermicelli Kheer/Semiya Payasam/Vermicelli Payasam
You Too Can Cook Indian Food Recipes
WOW!!! I buy in the store often, love homemade.
Always love rusk ..nice recipe …looks yum
Thats a nice idea… Looks crunchy n yummy
and I thought rusks are baked from bread…silly me. this looks wonderful. a very informative post.
looks crunchy ,wish to have some rusk….
Nice recipe…perfectly done..looks yumm.
Lovely and yummy rusk cake, they sell it out here comes from dubai, nobody likes them at home, except me! and a friend who visits me ( he is from Dubai!), I rarely buy it, I had bookmarked this recipe from an other blog, now I have to search for it, as your rusk is tempting me..
Wow tempting,bookmarked,thanks for sharing.
Love the cake rusk a lot,yummy & perfect!!
wow… this looks perfect… delicious!!
never tried it at home..Love the look of cake rusk..
hi chitra, thanks for visiting my space and such a lovely comment… i too first time here n you are having very nice space here… pleasure to follow you…
VIRUNTHU UNNA VAANGA
Looks superb, after seeing the pictures, now I am a little more convinced about using my microwave in the convection mode, thanks dear..
Cake rusk looks yummy and perfect..
This cake rusk is a common thing at our bakeries. We love it. Nice step by steps and pics.
Very simple, quick & easy recipe. I tried it today. Cake itself was soo yummy that no one left a piece for toasting 😀 Thanks Chitra!
Thank u so much shivani. I am so glad u all liked it. Try toasting next time if u make again 😉 U'll love its crispness.. U made my day wonderful by ur sweet comments . Thanks again 🙂
There are lot of slangs and errors in receipe that need to be corrected. The biggest error is-the receipe is for a conventional oven not Microwave oven.
Pl correct, it is Conventional oven not Microwave oven.
Thanks
Hello,This recipe uses convection mode in microwave oven.I have not used conventional oven here.It is different.Please check this link to know the difference.
http://microwave-oven-views.99k.org/Conventional_Versus_Convection_Microwaves.php
Hello Chitra. .. I made these last Friday after reading your recipe and they tasted great. I have been doing a lot baking since past few months but never baked cake rusks before. The recipe is very easy. Thank you for that! I baked my sponge cake in a loaf tin in an oven and did not remove the top brown layer. It was much easier to cut the slices. Made about 18 rusks and finished them all by Saturday :p my son and husband liked them very much. I guess I am not going to miss eating cake rusks anymore as they are not available here. Thanks again.
Thanks a lot payal,I am so glad to read ur feedback 🙂 I am planning to update this post soon with new pictures.As u mentioned,i will try in loaf tin to get some good pieces 🙂 Thanks again 🙂
beautifully made plus excellent description… by step by step images… pass me some 😉
My cake became bitter on 2nd day.should I keep it in fridge or outside
Bitterness is due to over baking.i usually keep it outside.no need to refrigerate.
I was searching for a rusk recipe… But agIn egg came as an obstacle….will wait for your eggless version
Thanks for reminding me.I will share a eggless version very soon 🙂
ur recipe ia very nice but can we use gas oven instead of mw
can we use gas oven instead
i guess u can try.But iam not sure about the timings and settings:)
Hi Chitra. Glad you could use our recipe to make your cake rusk. Happy to hear it turned out great!
-H. Sisters
Hi Chitra,
Glad you could use our cake recipe to success. Thanks for linking us!
-H. Sisters
Thanks 🙂 I must try it again and post with clear pics 🙂