When it comes to street food in Mumbai, pav bhaji reigns supreme as the most popular and beloved snack. It has been a go-to choice for many, including my daughter, who can’t resist its flavoursome charm. Traditionally, I would prepare pav bhaji by cooking the vegetables and masala separately, but recently, I stumbled upon a game-changing technique on YouTube: one pot, one shot pressure cooker pav bhaji. Intrigued by its vibrant colours and tempting texture, I couldn’t help but bookmark a few videos to try it out.
During a recent visit to my parents’ house, they surprised me with the Prestige Svachh FLIP-ON Pressure Cooker. As a cooking enthusiast, I’ve always appreciated the convenience and time-saving benefits of pressure cookers. With its gas and induction compatibility, it caters to all kitchen setups. The unique lid design with spillage control caught my attention, making it incredibly easy to handle and maintain. I was particularly impressed by the effortless locking and unlocking mechanism, which even beginners will appreciate.
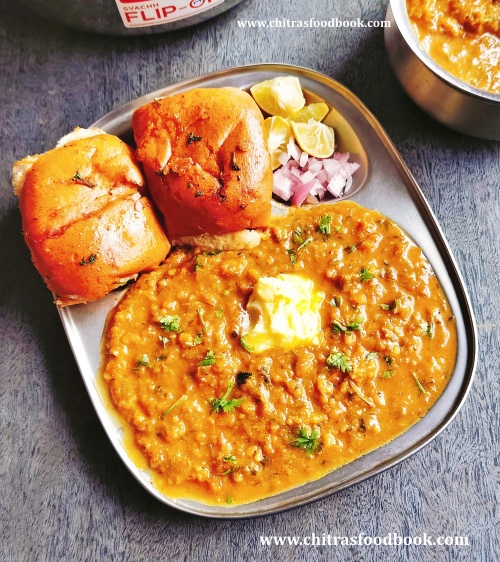
Excited to put my new cooker to the test, I decided to try making pav bhaji masala using this innovative technique. The results were nothing short of extraordinary! The pressure cooker method allowed me to complete all the tempering, sauteing, and cooking in one go, eliminating the need for multiple pans and saving precious time. The end product was a tantalising plate of pav bhaji that retained its authentic flavours and delightful texture. It was an instant hit with my family, leaving us all craving more.
Tempering, sautéing, cooking are all done in one go without any compromise in taste and texture. In the quest for the perfect pav bhaji, the pressure cooker technique has revolutionised the way we prepare this beloved dish. Thanks to the Prestige pressure cooker and its exceptional features, cooking has become a breeze, with uncompromised taste and texture. So, why wait? It’s time to elevate your pav bhaji game and savour the wonders of this delectable dish. Get ready to embark on a culinary journey that will leave you craving for more with each flavourful bite.
Friends, do try this pressure cooker pav bhaji recipe and enjoy with your family. Even bachelors can give this as try. You can make the same in instant pot as well.
Pav bhaji in a pressure cooker
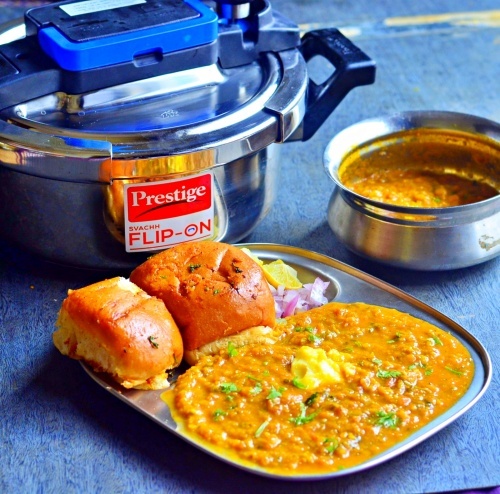
Pav bhaji in a pressure cooker
INGREDIENTS
For Pav bhaji masala
For Tadka
For Pav bun
|
- Wash and chop onion, tomato and vegetables finely. Set aside.
- Heat butter+cooking oil in Prestige pressure cooker.
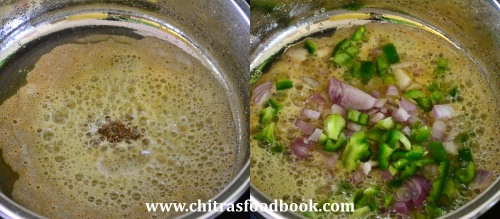
- Splutter cumin seeds. Saute onion till transparent. Add ginger garlic paste and saute well.
- Add tomato and saute till mushy. Add all the spice powders , salt and mix well.
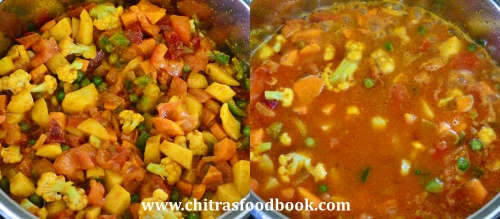
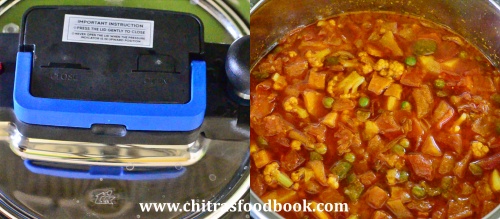
- Lastly add the chopped vegetables and mix well. Add required water and pressure cook in low flame for one whistle.
- Open the cooker after the steam is released. Take a potato masher and mash it well to make a paste like consistency.
- Add little water if its too thick. Boil for a minute and switch off the flame.
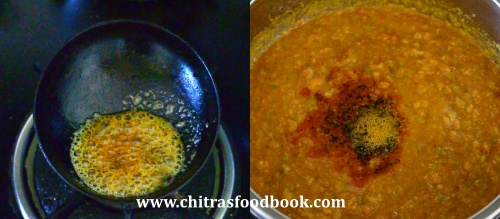
- In a tadka pan, melt butter and add pav bhaji masala powder and Kasoori methi. Switch off the flame and add to pav bhaji masala.
- Garnish with coriander leaves. Pav bhaji masala is ready.
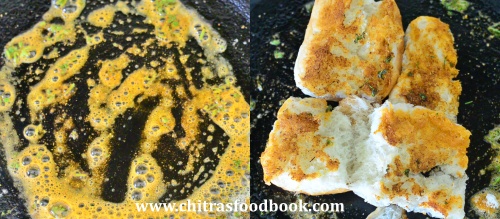
- For pav buns, take the bun and slit it. Heat butter in a dosa tawa and add the pav bhaji masala powder, a pinch of salt and coriander leaves. Mix well.
- Dip the pav buns in this masala and cook both the sides till soft. Remove and serve it.
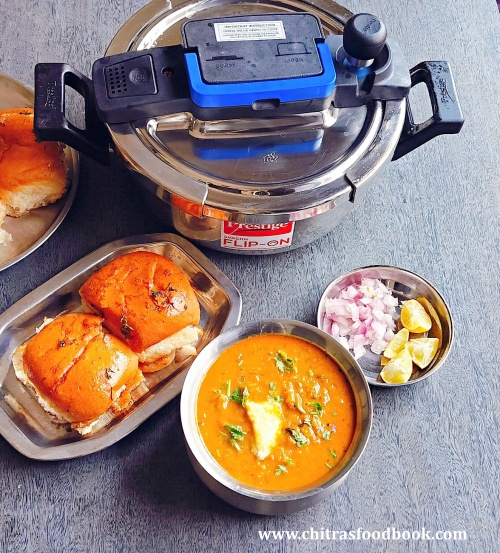
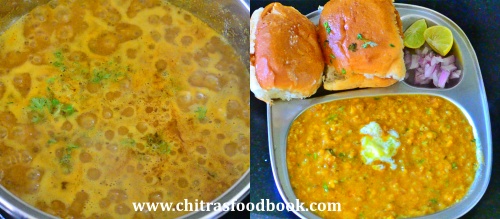
- Serve the pav buns with pav bhaji masala, finely chopped onions and lemon wedges. Enjoy.
|
Note
|
Try this easy, one pot one shot, pressure cooker pav bhaji and enjoy !

Leave a Reply