Cooking basics


Hi friends ,
In this page i have given the home made essentials for cooking. Please click on the title to see the specific recipe..I referred some websites , cook books and my handbook for posting all these recipes. Please mention this page link if u try any . Thanks for understanding :).. I’ll keep updating this page with some more useful tips..Hope u’ll find this page helpful.. 🙂

  1. How to make processed rice flour at home
  2. How to make roasted urad dal flour
  3. How to buy and cut avocado
  4. How to clean and cut mushroom
  5. Home made sambar powder
  6. Home made rasam powder
  7. How to make garam masala powder
  8. How to make ginger-garlic paste
  9. How to make paneer at home
  10. How to make ghee at home
  11. How to make gotsu powder / Idli sambar powder
  12. How to make sugar syrup for sweets
  13. How to blanch almonds easily
  14. How to peel garlic easily
  15. How to make sathu maavu / Health mix powder
  16. How to remove corn kernels from sweet corn easily
  17. How to make pasta sauce at home
  18. How to make white sauce at home

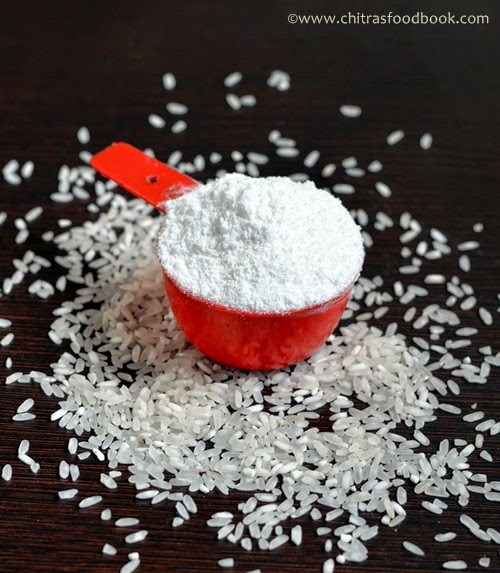
HOW TO MAKE PROCESSED RICE FLOUR AT HOME

How to make rice flour at home

INGREDIENTS
  • Raw rice / Maavu arisi  / Dosa rice – 1 cup
  • Clean cloth or paper

METHOD
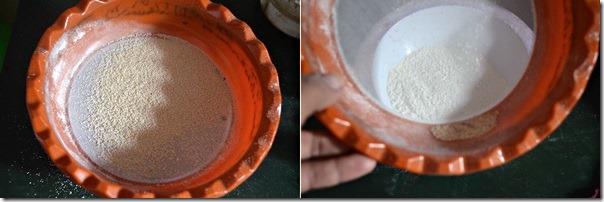
  • Wash and soak raw rice for 2 hours. Drain all the water & spread the rice in a paper or cloth for 5 minutes.. All the excess water will be absorbed.

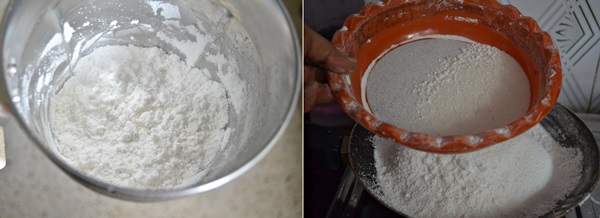
  • Now grind the rice to a fine powder. Sieve them once to remove the coarsely ground rice. Grind again & sieve till u get a fine powder for all the rice..

  • Discard the last set of coarse particles & add to rangoli powder.
  • U can use the wet flour for making kai murukku and idiyappam.
  • If you want to make seedai , proceed & roast the flour till it gets heated a bit..U can see vapour coming from the flour. After the flour cools down , sieve it & use for making seedai.
This flour can be made in advance & used for making seedai. Cool down the flour. You can store the roasted flour in a box and use whenever needed. 

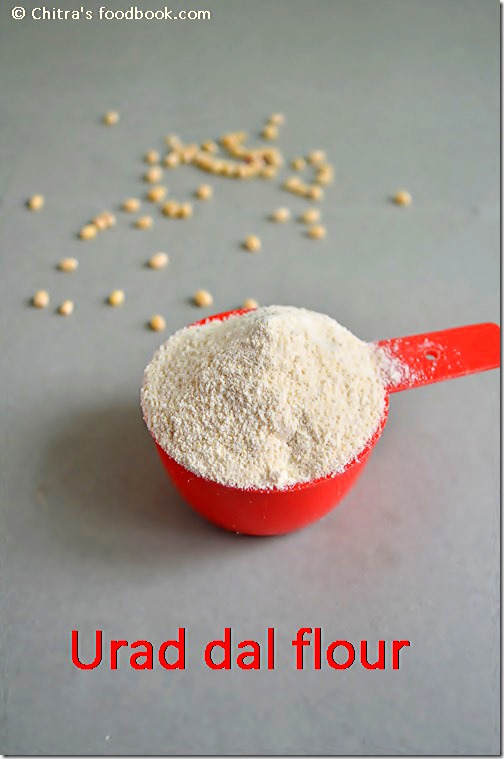
HOW TO MAKE ROASTED URAD DAL FLOUR

urad dal-flour

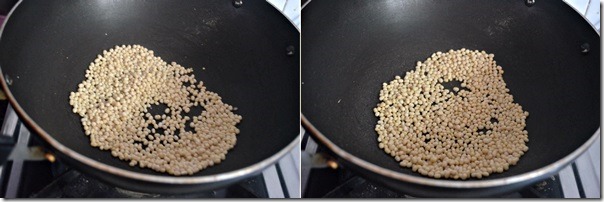
  • Dry roast urad dal in a kadai without changing its color till u get a nice smell. Do it in low to medium flame..
urad dal flour tile 1

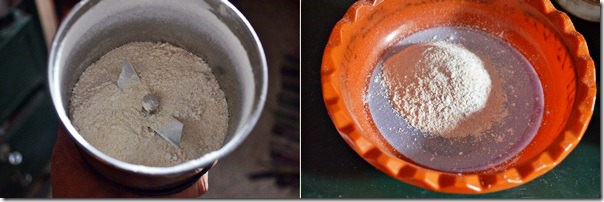
  • Grind it to a fine powder.Sieve . U may get some coarse particles. Grind it again to make a fine powder and sieve once again..Store the fine powder & use whenever needed. You can make seedai, murukku and dangar pachadi with this flour. urad dal flour tile2
urad dal flour tile3

  HOW TO MAKE SAMBAR POWDER


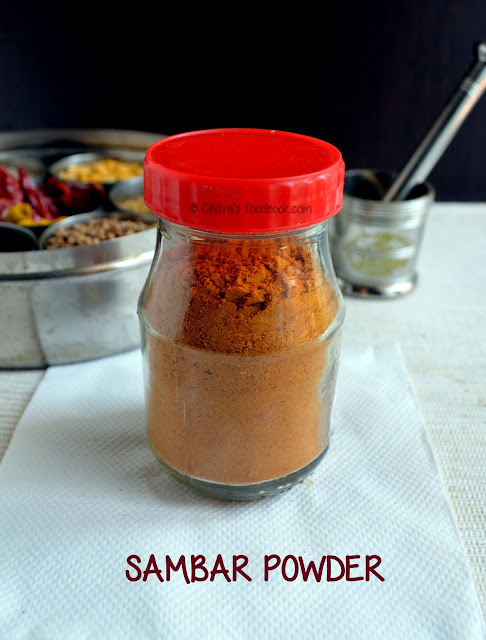
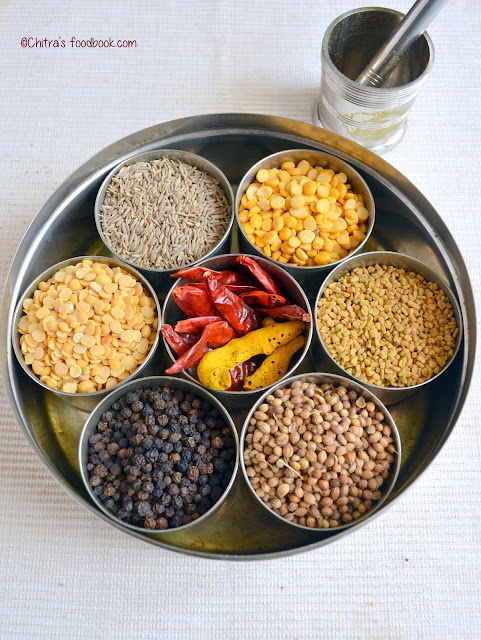
This is my MIL’s sambar powder recipe. Usually we buy the required ingredients in large quantities , sun dry them and grind in a mill.. After it cools down , we add the turmeric powder, mix well and store in a box. We use this powder for making sambar , poriyal and kootu. I have given more quantity of ingredients with which u can use the powder for 6 months. I have given another set of ingredients with smaller quantity which comes for a week..I have also given my mom’s sambar powder at the end of the post. Try any based on ur liking..


INGREDIENTS

  • Dhania / Coriander seeds – 1/4 kg ( 250gms )
  • Red chillies – 1/4 kg ( 250gms)
  • Methi seeds – 50 gms
  • Toor dal – 50 gms
  • Channa dal – 50 gms
  • Turmeric powder – 50 gms
  • Pepper corns – 50 gms
  • Cumin seeds / jeera – 2 tbsp

    FOR SMALL QUANTITY

    1. Red chillies – 12 nos
    2.Dhania – 2 tbsp
    3.Methi seeds – 1 tsp
    4.Toor dal – 1 tsp
    5.Channa dal – 1 tsp
    6.Pepper corns – 1tsp
    7.Jeera – 1/2 tsp
    8.Turmeric powder – 2 tsp


METHOD

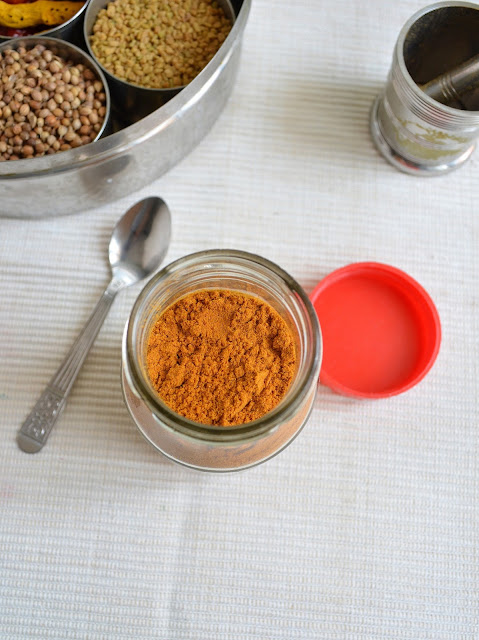
  • Sun dry all these ingredients and grind them in a mill. Allow it to cool completely.Mix the turmeric powder. Store in a box. It stays good for 6 months.U can use this powder for making sambar , paruppu rasam , poriyal, kootu and idli sambar..


INGREDIENTS FOR MY MOM’S SAMBAR POWDER

  • Dhania / Coriander seeds – 1/4 cup
  • Channa dal – 1/8 cup
  • Urad dal – 1/8 cup
  • Red chillies – 8-10 nos
FOR SMALL QUANTITY
  • Oil – 2 drops
  • Dry coriander seeds – 1.5 tsp
  • Channa dal – 2 tsp
  • Fenugreek seeds – 1/2 tsp
  • Red chilly – 4-6 nos


METHOD

  • For large quantity , dry roast all the ingredients , let it cool and then powder them coarsely. Store in a box.
  • For small quantity , roast all the ingredients in little oil , cool and grind to a powder. U can use for making sambar twice..
U can use this powder for making idli sambar and lunch sambar !

HOW TO MAKE RASAM POWDER


I got this rasam powder from my Aachi ( Grandma). She gave me a list of recipes w before my marriage in a separate notebook and all the recipes are of Tirunelveli style. Even nowadays when I wish to try my native recipes , I refer my aachi’s handbook. I always make rasam powder as per my aachi’s recipe and it comes out very well . I have given small quantity which can be used for making rasam once. Increase the quantity in the same ratio. Powder them and store in a box..


INGREDIENTS


  • Pepper corns – 1 tsp
  • Dhania – 1 tsp
  • Cumin seeds – 1 tsp
  • Toor dal – 1/4 tsp
  • Red chillies – 3 –4 nos
  • Garlic – 3 cloves ( to be added at the end)

METHOD

  • Grind all the above ingredients coarsely except garlic..Finally add garlic , give a quick grind using inch button and add to rasam..Add a pinch of hing & sugar/jaggery while rasam boils..

HOW TO MAKE PANEER


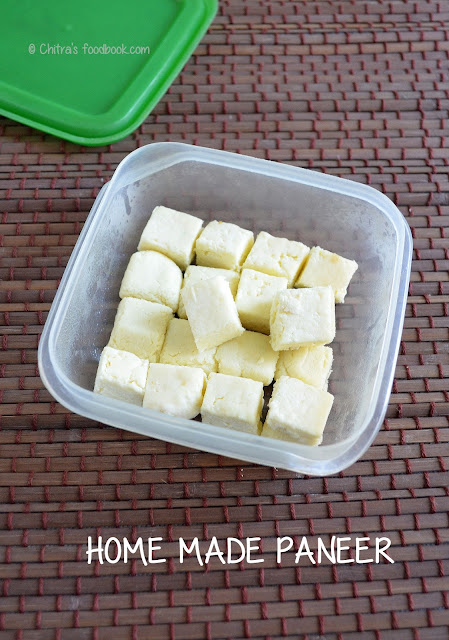
For making paneer , I referred Mrs. Mallika Badrinath’s book for some tips and the method. I followed almost the same and in addition i added a tbsp of maida while kneading the paneer to get white colored , smooth paneer. It stays good for 3-4 days when refrigerated..It did not turn yellowish and it was very soft and yet firm. For using paneer in dishes , u can either shallow fry them and keep them immersed in hot water till use…

INGREDIENTS

  • Milk – 2.5 cups (1/2 litre / 500ml)
  • Curd – 1/4 cup (50 ml) OR Lemon juice + water – 2 tbsp + 2 tbsp
    Maida – 2 tbsp (for binding)
  • White cotton cloth

METHOD

  • Boil the milk and once it starts to rise , lower the flame , allow it to boil for a minute and then add the curd..
  • Mix well. The milk will start to curdle and leave it in low flame till the milk is completely curdled and the whey gets separated.
  • Switch off the flame and let it cool down a bit. Then strain the mixture using a thin muslin cloth .. I used a cotton kerchief..Keep a colander under the cloth and a bowl underneath the colander to collect the whey water..
  • Now twist the cloth and hang it for 1- 2 hrs till all the water is drained completely. If necessary squeeze the cloth in between..
  • Now take the cloth ,add 2 tbsp of maida , mix well and again twist the cloth , flatten it and keep it on a plate. Keep a weight on the cloth or a bowl full of water and refrigerate it for 3-4 hrs or overnite. The next morning take the paneer and cut into cubes..

Note : If u use lemon juice instead of curd , add equal quantity of lemon juice & water and then add to milk. After the whey is separated , strain the paneer and show it in running water to remove the tanginess of lemon.Then u can proceed as mentioned above..

HOW TO BUY AND CUT AVOCADO

Source: http://www.wikihow.com/Buy-a-Good-Avocado

  • There are varieties of avacados available in the market. They are Hass, Lamb Hass, Gwen, Reed, or Sharwil , Bacon and Zutano.. Bacon and Zutano varieties are light in flavor. Others have a nutty taste.
  • Good avacados can be first identified by its color.Ripe avacado looks dark green to black in color.. Some varieties look light green in color.
  • When you want to examine them. Take an avacado and keep it in ur palm. Just press it lightly.Do not use ur finger tips as it may bruise them. If it gives slightly , it is ready to eat. If it is over ripe, pressing them gives a mushy feeling and ur finger may sink into the skin. If the skin is hard to touch and if it doesn’t give , the avacado is not ripe yet.
  • If u r planning to keep it for some days, u can buy the unripe avacado , wrap it in a paper and keep it for 4-5 days to ripen.It can be kept in room temperature.
  • Avocados can be stored in a refrigerator until eaten to slow the ripening process. Avocados with the highest oil content are the Hass, Pinkerton, Sharwil and Fuerte varieties. This buying method may be useful for people who plan to use avocado oil for health and diet or skin and beauty purposes.
HOW TO CUT AVOCADO

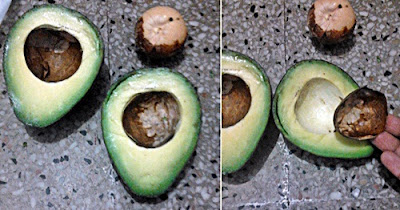
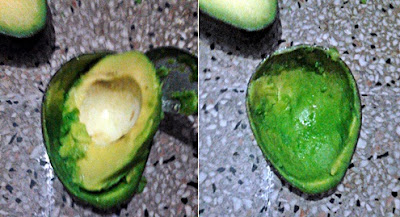
  • Cut the ripe avocado vertically into two pieces and remove the seed..Then peel the black colored skin which u can see inside the avocado after opening it..


    Then using a spoon carefully remove the pulp and discard the skin…Use as required..u can make a dip or soft paratha !


HOW  TO CLEAN AND CUT MUSHROOM

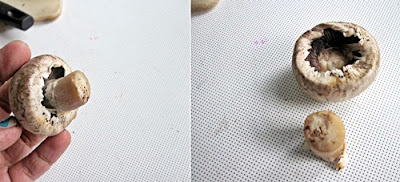
We should be careful while buying mushrooms. Make sure u buy white colored , fresh ones and also use it as soon as possible. Some mushrooms are not edible . Always buy mushrooms from a well known shop. Here i have given how to clean and cut mushrooms.. Hope it will be helpful. Though the process seems longer , it can be done in minutes. I referred sharmis passions and some more websites for this topic..

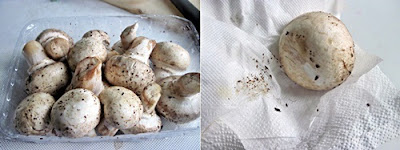
  • Take a mushroom and wipe it with a clean towel or tissue to remove the mud and dirt.

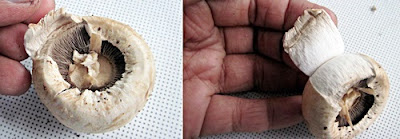
  • Then remove the stem part which u can in the middle .. When u see inside the mushroom , u can c black hair like thing. If u want u can remove it using a knife. But this step is optional.

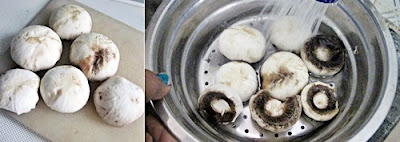
  • Then peel the outer layer.It will look white and clean. Now wash them under running water and use as desired..

HOW TO MAKE GARAM MASALA POWDER

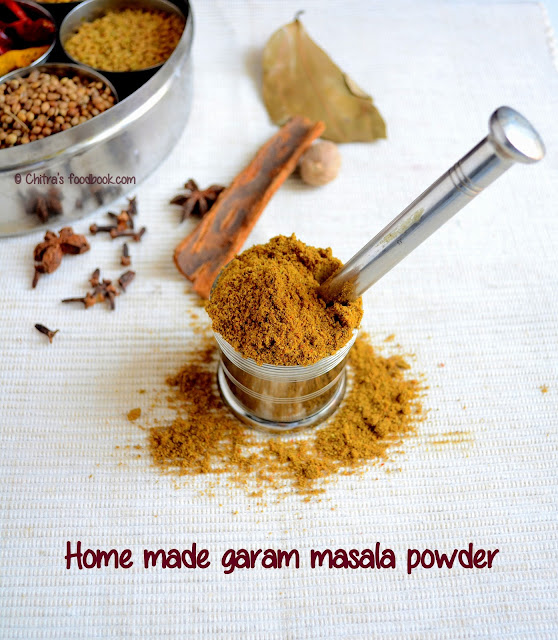
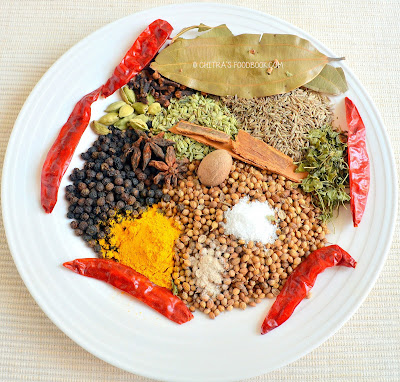
I tried this recipe after referring some store bought masala packets and my cookbook It smells & stays good for months when stored in an air tight box..Here is a picture of ingredients i have used in this recipe..


INGREDIENTS

  • Dhania – 3 tbsp
  • Cumin – 1 tbsp
  • Pepper – 1 tbsp
  • Cardamom – 8 nos
  • Cinnamon – 2 long sticks
  • Cloves – 1 tsp
  • Fennel or aniseed – 1 tbsp
  • Bay leaves – 1 no
  • Star anise – 1 no
  • Mace – 1/2 no
  • Red chillies – 6 nos (adjust)
  • Dry ginger powder – 1/4 tsp
  • Kasuri methi – 1/2 tsp
  • Caraway seeds ( black jeera) – 1/4 tsp (optional)
  • Turmeric powder – 1 tsp
  • Hing – 1/4 tsp

METHOD

  • Dry roast all the ingredients in low flame till u get a nice smell and grind them to make a fine powder. No need to sieve. Store in a box and use as needed..

HOW TO MAKE GINGER GARLIC PASTE


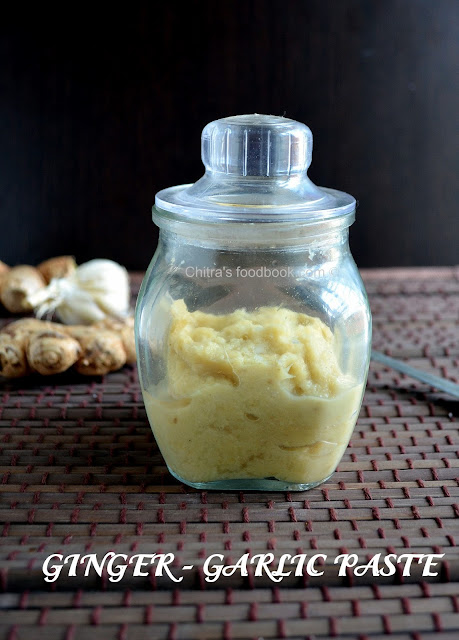
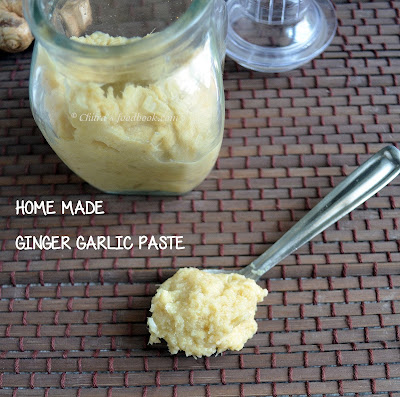
I usually make ginger garlic paste freshly whenever I need.But very recently I started making GG paste and store in a bottle.. I use little vinegar as a preservative.. I don’t add oil while grinding.I use only water. But i use very little quantity..Usually people say adding water makes the paste green after some days. But mine dint turn green , it may be because of vinegar i guess.. If u don’t want to add water , u can replace with oil as well..Store in refrigerator and it stays good for a month..

INGREDIENTS

  • Garlic cloves – 1/2 cup
  • Ginger – 1/3 cup
  • Water – 1 –2 tbsp
  • Vinegar – 2 tsp
  • Salt – As needed

METHOD

  • Peel the skin of garlic and the skin of ginger. Chop the ginger into small pieces and grind them together adding salt and vinegar to a coarse paste..Then add little water & make a thick paste.. Store in a glass bottle and refrigerate. Use a clean spoon always to handle.. It stays well for a month..

HOW TO MAKE GHEE


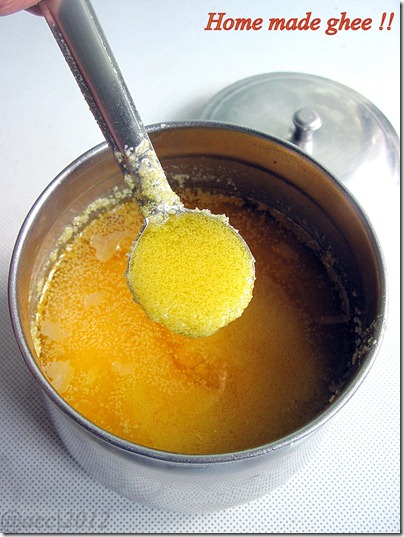
Usually I make ghee without adding red chillies and cumin seeds . But I tried this way as suggested in a website. These ingredients gave additional flavour to the ghee. So u can make ghee with or without adding these two ingredients as u wish..


INGREDIENTS


  • Unsalted Butter – 500 gms ( I use Nandini)
  • Red chilly – 1 no (optional)
  • Jeera/Cumin seeds – 1/2 tsp (optional)
  • Curd – 1/2 tsp
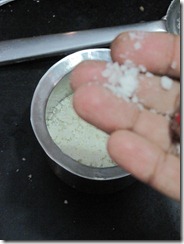
  • Crystal salt – 1/4 tsp
  • Curry leaves / Drumstick leaves – few
  • Methi seeds – 1/4 tsp (optional)

METHOD

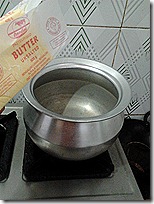
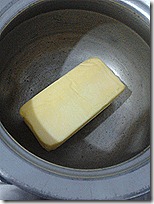
  • Take the butter out and put it in a wide , big vessel .( I normally use an aluminium pan which is almost three times bigger because while melting the froth raises till the rim of the vessel).

2012-09-13 16.07.142012-09-13 16.07.34

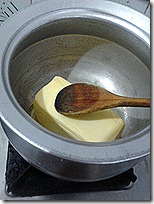
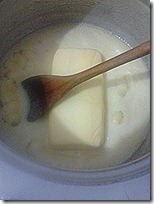
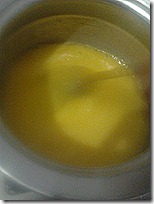
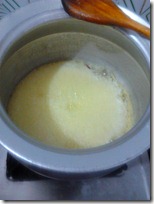
  • Switch on the flame and start melting the butter by placing a wooden ladle .Keep the flame high and keep on stirring till the butter melts completely .( by stirring continuously , u’ll get less residue at the end)

2012-09-13 16.08.332012-09-13 16.09.562012-09-13 16.12.24

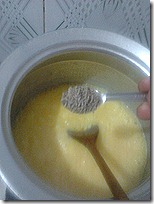
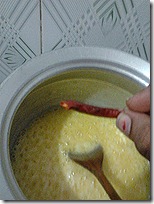
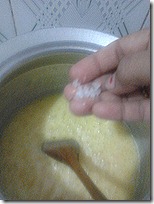
  • After it melts down, add jeera, whole red chilly and few crystal salt.Give a stir every now and then…

2012-09-13 16.13.072012-09-13 16.14.052012-09-13 16.14.29

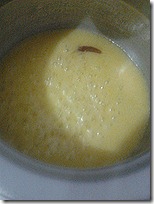
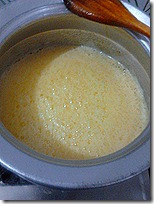
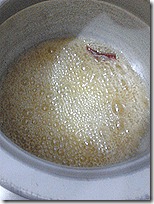
  • Now simmer the flame and mix well. It will boil and become frothy by producing big bubbles.It produces a hiss sound.

2012-09-13 16.14.542012-09-13 16.15.332012-09-13 16.18.43

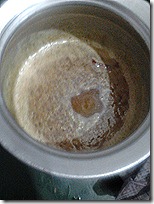
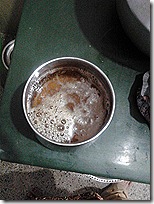
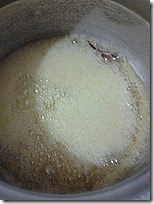
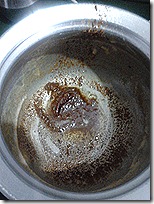
  • After 5- 7 mins , the bubbles will cease and the froth rises.(make sure the flame is low).. After a few secs from rising , u’ll see tiny brown spots that appear on the top. As soon as u see a single brown spot , add little curd.. After u add the curd u’ll get a noise.Switch off the flame & Mix well …U’ll see lot of brown spots. Remove the vessel from the stove.
  • Add few curry leaves/ drumstick leaves…

2012-09-13 16.19.512012-09-13 16.20.032012-09-13 16.22.04

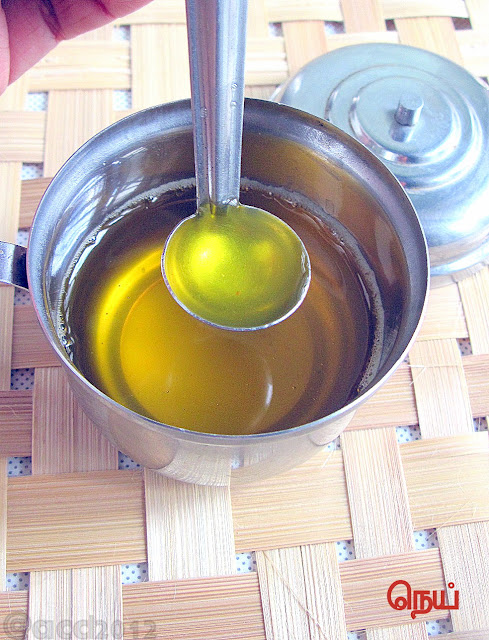
  • After it cools down,the residue will settle down at the bottom and transfer the ghee alone to the desired bowl ..All the spices u used will be settled in the bottom along with residue..
  • Keep the bowl open for sometime. Then close it with a lid and use whenever required..

2012-09-13 16.22.452012-09-13 16.30.072012-09-13 16.30.13

  • U can use the residue by mixing in plain rice or by adding in sambar or pongal.I use the residue in our daily cooking by mixing them in sambar , rasam etc..

Store the ghee in a clean vessel and enjoy for months !


HOW TO MAKE SUGAR SYRUP FOR SWEETS


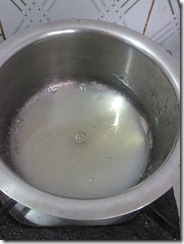
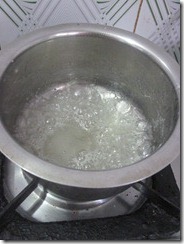
HOW TO PREPARE SUGAR SYRUP & REMOVE THE SCUM.

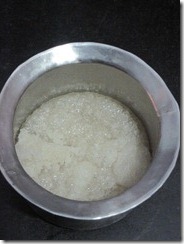
I used 1/2 cup ( 100 gms) of sugar & 1/4 cup of water .

  • Take a proper vessel of suitable size. Please do not use copper – bottom kadai or iron kadai because these vessels retain heat for long time and may change the consistency of the syrup even after taking out from the fire.Also iron kadai changes the color of the end product.If u r planning to use these vessels , its better to transfer the syrup to another vessel after the desired consistency is reached.
  • For lesser quantity of syrup , use small or medium sized vessel.Now take the sugar in the bowl or kadai and add water just to cover it. Here i used 1/2 cup sugar & 1/4 cup water.The more water u add , more time is taken to reach the consistency.
  • Keep the fire in low (Sim) and allow the sugar to dissolve completely by stirring well. Make sure there are no sugar crystals at the sides of the pan.Wipe them and add to the syrup.
  • Once the sugar is dissolved completely & started boiling add 2 tbsp of milk to remove the scum.Always keep the flame low.After few seconds , the scum floats on top. Strain the syrup and discard the scum/ dirt.Now ur syrup looks clean..
  • Again keep in low fire and start to boil. After it started to boil , please do not stir or disturb. Over stirring will affect the correct consistency.

DIFFERENT STAGES OF SUGAR SYRUP

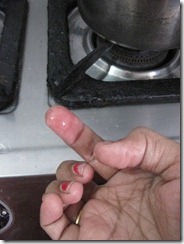
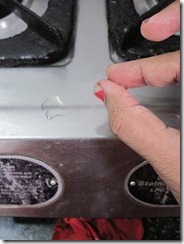
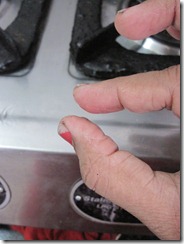
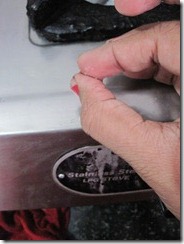
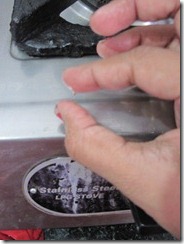
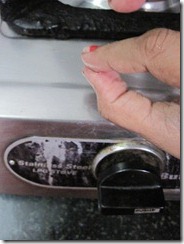
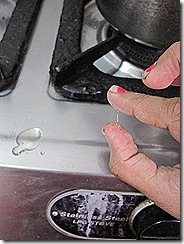
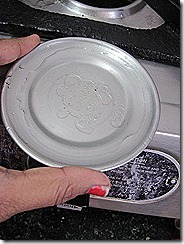
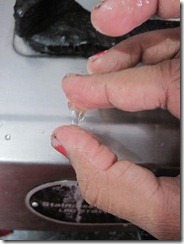
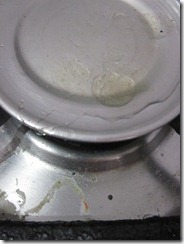
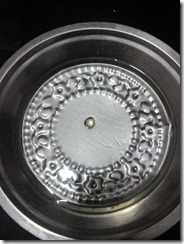
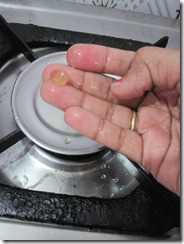
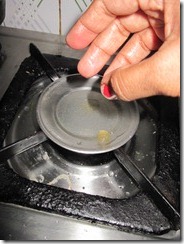
I have given the definition of each stage & the sweets which are made in that consistency.I have covered the most important stages with pictures. I am not able to check 3 string consistency as i cant bear the heat..My fingers started burning. So i poured the syrup in a small plate and proceeded further. I checked each consistency by pouring the syrup over the gas stove plate . I dipped my fore finger in little water & checked the syrup.I switched off the flame in each stage to take pictures .If u have any doubts in the pictures or steps , please comment it. I’ll try to clear them..

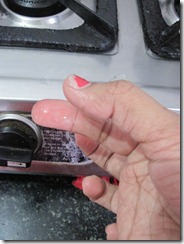
  • THIN SYRUP :This is the first stage . The sugar dissolves completely , clears & it gets a shine. After removing the scum , the syrup boils and gets a shine.Keep water in a small plate and dip ur fore finger before checking the consistency.In this stage the syrup wont be sticky just shiny .Hope u can see the shine in my fore finger..This stage is not required for any sweets.So it is not much important.Keep the flame low always.

IMG_7859
IMG_7847.IMG_7850

STICKY SYRUP : This is the second stage.Here the sugar syrup becomes little thick.Dip the fore finger in little water and then quickly in the hot syrup.When u slide the thumb over fore finger , it feels sticky. This is used for Gulab jamun.

IMG_7871IMG_7867IMG_7866

HALF – STRING CONSISTENCY
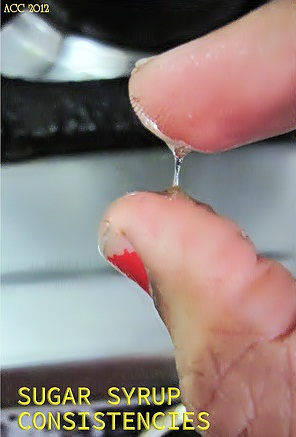
In this stage , when u test between ur thumb and fore finger , it strings & cuts off immediately.This syrup is used for jangiri , jilebi , Kajas,gulgul .Some people say sticky & half string consistencies are similar.So both can be used to make gulab jamun.

IMG_7877IMG_7878

ONE- STRING CONSISTENCYThis is the most important stage . Here a thin long string is formed upto 2 inches when tested in between thumb and fore finger.One more way to check the syrup is : pour the syrup in a small plate with water. It wont dissolve and it lays a small thread.Kaju katli, badam burfi , Thosha , badushah, mysore pak are made with this syrup.Refer the cover picture too..

IMG_7890IMG_7891IMG_7886

TWO STRING CONSISTENCY
Two strings are formed when tested between fingers. Generally this syrup crystallizes very soon . So sweets which require a sugar coated look need this consistency.cashew burfi , mohanthal , boondi ladoo is made in this consistency..

THREE STRING CONSISTENCY
Here string becomes thicker and when tested , string is formed in 2 , 3 places..Dhal burfi requires this syrup..Sugar crystallizes very soon in this stage.

IMG_7897IMG_7573IMG_7571

GATHERING CONSISTENCY
Pour little syrup in water , it can be gathered using ur fingers but u cant make a ball ..It is required for some burfis.

IMG_7902

SOFT BALL CONSISTENCYPour a small amount of syrup in a plate of water. If rolled with fingers , syrup should form a small ball in the water itself..U cant take the ball in ur finger.This is used for adhirasam & pori urundai.

IMG_7567

HARD BALL CONSISTENCY
When u pour syrup into the water & roll it , u should be able to make a ball and if u drop the ball u’ll get a “tung” sound.The color of the ball is changed. This is used to make “peanut chikkis/ kadalai mittai “. I tested the sound by dropping it in the plate Winking smile

IMG_7905IMG_7906

The remaining stages are soft crack , hard crack & golden brown caramel( last stage) . As we don’t need them for making sweets , i have not discussed here..They are used for making toffees..


HOW TO MAKE IDLI SAMBAR POWDER & GOTSU POWDER


For idli sambar
To roast and grind

  • Oil- 1 tsp
  • Dhania / Coriander seeds – 1 tbsp
  • Channa dal – 2 tbsp
  • Red chillies – 6 nos
  • Methi seeds – 1/2 tsp

Roast all the above ingredients in a tsp of oil and powder them nicely… Add this powder along with dal to get the hotel taste..sometimes i add few curry leaves and 1 tbsp of grated coconut while roasting which makes the sambar more flavorful and thick..

For gotsu powder ( to dry roast & powder)

  • Coriander seeds – 1/4 cup
  • Red chillies – 12 nos ( long variety)
  • Methi seeds – 1/2 tsp (optional)

Dry roast & powder the ingredients. Add 2 tsp of this powder for making gotsu..Store the remaining powder ..
For small quantity
Take 1 tbsp of dhania & 6 red chillies..If needed add , 1/4 tsp of methi seeds. Dry roast & grind them and add to the gotsu..


HOW TO BLANCH ALMONDS EASILY

  • In a bowl , boil the almonds adding water.Boil for a minute in high flame till it roll boils.After 5 minutes drain all the water and add running cold water to the almonds .. Now u can easily remove the skin..


  • Remove the garlic pearl from the bulb with skin. In a bowl , boil the garlic adding water.Boil for a minute in high flame .Drain all the water immediately and add running cold water to the garlic .. Now u can easily remove the skin by pressing it between ur thumb & for finger..

HOW TO REMOVE CORN KERNELS EASILY FROM SWEET CORN

Boil the sweet corn .To remove the kernels, cut the boiled corn into two pieces. Take one piece and keep it on a plate.Hold the corn with one hand. Keep the knife on top of one side of the corn. Cut through the end.The kernels will fall down. Rotate the corn and do the next side. Repeat until all the kernels are removed..

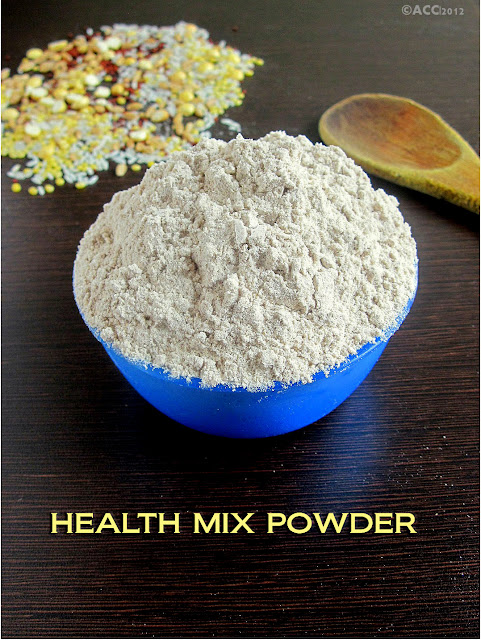
HOW TO MAKE HEALTH MIX POWDER/SATHU MAAVU FOR KIDS AND ADULTS


INGREDIENTS FOR KIDS HEALTH MIX POWDER


  • RICE ( PUZHUNGAL ARISI / STEAMED RICE ) – 1 CUP
  • WHOLE WHEAT – 1 CUP
  • YELLOW MOONG DAL – 1/2 CUP
  • RAGI / FINGER MILLET – 1/4 CUP
  • FRIED GRAM DAL/ POTTUKADALAI – 1/4 CUP
  • NUTS ( CASHEW/BADAM) – 1/8 CUP (OPTIONAL)
    METHOD

  • Dry roast all the ingredients in a kadai one by one in medium flame till nice aroma arises..
  • No need to roast the fried gram dal, just add it to the other hot , roasted ingredients , mix well and allow it to cool..
  • Allow it to cool and grind in mill. After the powder cools down , store it in an air tight box.
  • Transfer the required amount of powder in a small box for daily use .Handle with a clean spoon..It stays good for months.
  • Use a tsp of this powder , mix with 1/2 cup of water , boil it for 5 –8 mins in low flame. Add salt or sugar.Make it thin. Give it for 6 months baby.For 1 year or more age , add a tbsp of this powder in water or butter milk or milk , cook it well. Add salt or sugar. Make it thick or thin and Serve !

INGREDIENTS FOR ADULTS HEALTH MIX POWDER


  • Ragi – 1 kg
  • Urad dal – 250gms
  • Moong dal – 125 gms
  • Toor dal – 125 gms
  • Jeera – 2 tbsp
  • Pepper corns – 3 tbsp

METHOD


Grind all the above ingredients in a mill and store in a box..U can use this powder to make porridge adding butter milk , salt. Or U can make a sweet porridge adding milk , sugar and cardamom powder..

If interested please refer here for health mix dosa ..

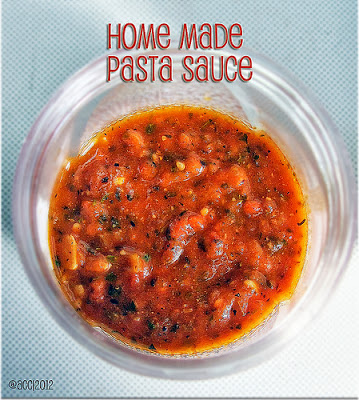
HOW TO MAKE PASTA SAUCE


INGREDIENTS
  • Big ripe tomatoes – 6 nos ( blanched & pureed )
  • Big onion – 2 nos ( very finely chopped )
  • Garlic – 6 cloves (minced)
  • Olive oil – 4 – 5 tbsp
  • Black pepper powder – 1 tbsp
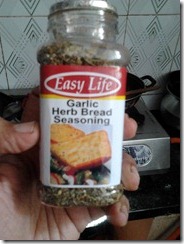
  • Parsley ,oregano , thyme and basil mix –1 tbsp ( i used garlic bread seasoning ) OR Oregano – 1/2 tbsp & Basil – 1/2 tbsp
  • Bay leaf – 1 no
  • Sugar – 1 tsp
  • Salt  & water – as needed
  • Cheese – 2 tbsp (optional)
METHOD
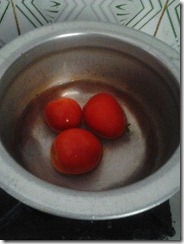
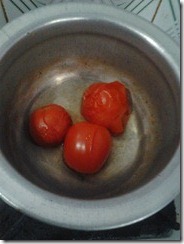
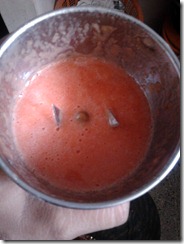
In a bowl , boil the tomatoes till it cracks. After it cools down, remove the skin and grind them coarsely to make a puree.
2012-10-24 12.43.502012-10-24 12.52.582012-10-24 14.13.00
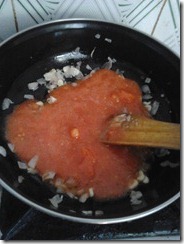
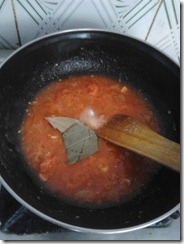
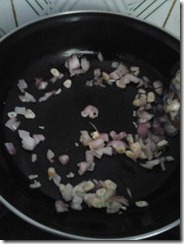
In a kadai , add oilve oil and saute the finely chopped onions & garlic cloves. Saute till turns translucent.Now add the tomato puree , salt , bay leaf & 1/4 cup of water..Allow it to boil for few minutes. 
2012-10-24 14.58.182012-10-24 15.00.152012-10-24 15.01.30
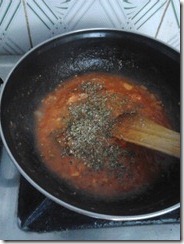
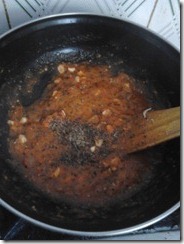
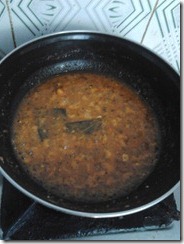
Then add the seasoning ( crush it lightly with ur hands), black pepper powder & some more water.Allow it to cook uncovered for 10 – 15 mins in low flame. Finally when it turns thick ( sauce consistency) and leaves oil, Switch off the stove..
2012-10-24 15.05.162012-10-24 15.02.182012-10-24 15.02.442012-10-24 15.04.07
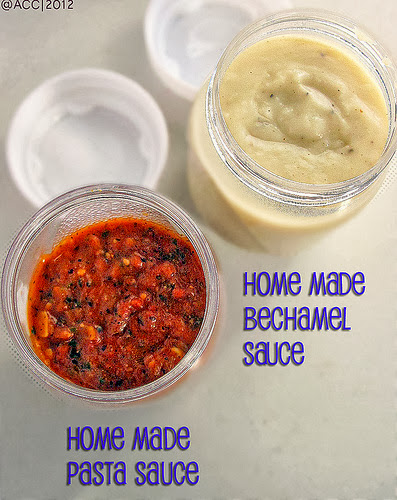
U’ll get a nice aroma..Remove the bay leaf & store in a bottle after it cools down .Refrigerate it till use. Its shelf life is around 5 days..The sauce gets a nice color if u use ripe , coloured tomatoes..No need to add canned tomato puree. I dint use.

NOTE
This sauce can be used for making simple pasta & spaghetti recipes ..Ur kids would love this..


HOME MADE WHITE SAUCE/BECHAMEL SAUCE


INGREDIENTS FOR BECHAMEL SAUCE / WHITE SAUCE
  • Milk –  1.5 cups
  • Bay leaf – 1 no
  • Pepper corns – 6 nos
  • Big onion – 1 no ( cut into slices)
  • Maida / All purpose flour – 2 tbsp
  • White pepper powder – 1 .5 tsp ( i used black pepper powder)
  • Nutmeg powder – 1/4 tsp
  • Butter – 3 tbsp
  • Salt –1/2 tsp
  • Sugar – 1/2 tsp
  • Water – as needed
METHOD
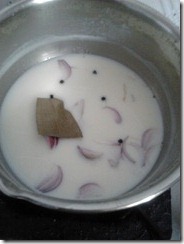
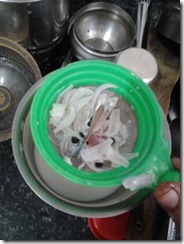
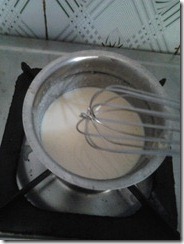
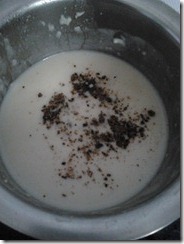
  • In a  milk pan , boil the milk along with bayleaf , onion and pepper corns.Boil it for 5 mins. Strain the milk and allow it to cool.

2012-10-24 12.46.292012-10-24 13.00.56

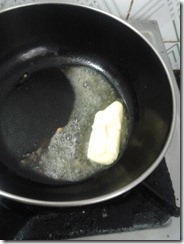
  • After the milk cools down , add maida to it and mix well without lumps. Now melt the butter in a pan and add the milk mixture to the pan  with sugar & salt. ( as per the actual recipe , maida has to be roasted well in butter before adding milk , but u may get lumps while roasting. So i added the maida with milk without roasting.) . I kept the milk in a bowl . I added the melted butter to the bowl.I got this step from here..

2012-10-24 12.55.072012-10-24 13.59.522012-10-24 14.00.44

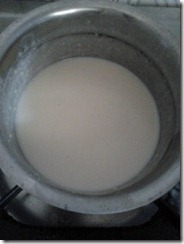
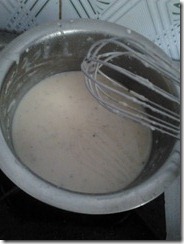
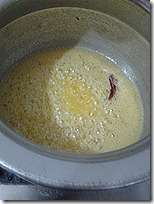
  • Now allow the milk to boil till the raw smell of maida emanates. Keep in low flame. Add more milk if necessary.Finally add the pepper powder & nutmeg powder.Boil for few mins.It will thicken and reaches sauce consistency. Remove & store.Make the sauce slightly thin (ie tomato ketchup consistency)
2012-10-24 14.08.452012-10-24 14.08.402012-10-24 14.09.28

Technorati Tags: ,,,,,,,,,,,,,,,,,,,,,,,,,,,,,,,

Scroll to Top